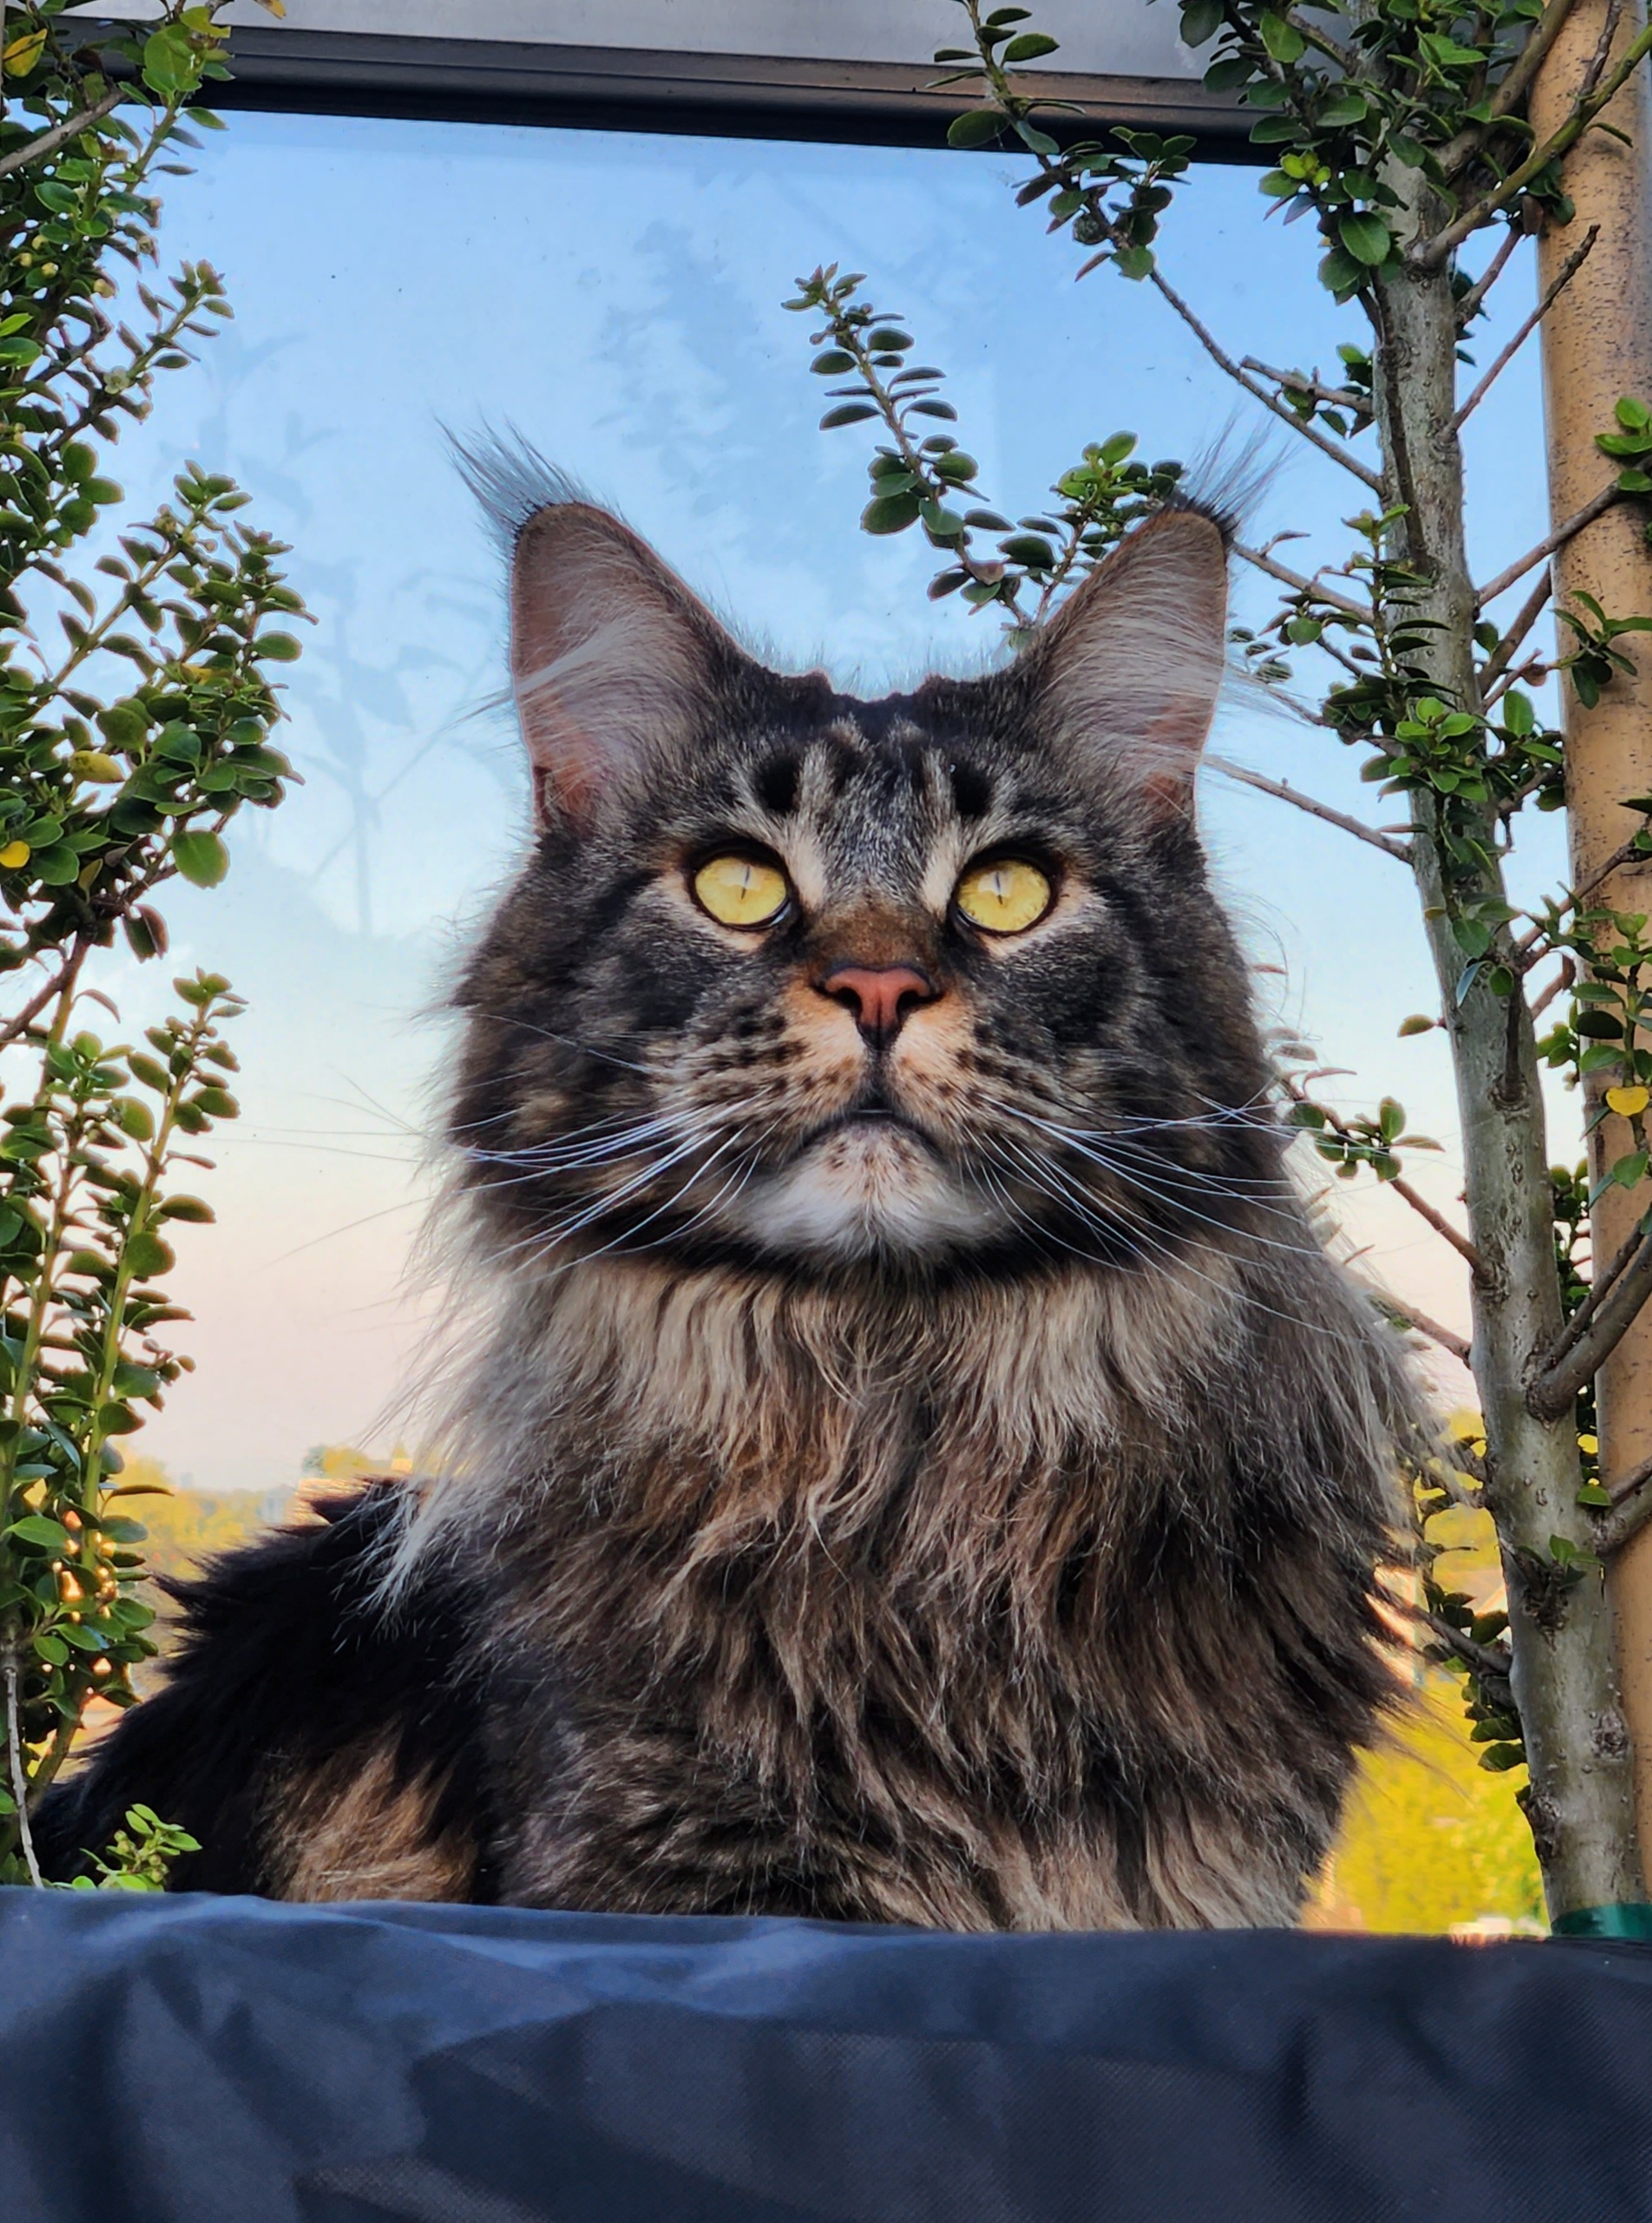
 Hello netizens of Lemmy, while printing this single wall wing segment i ran into a problem with significant bulging around the middle. This causes the segments to not fit onto the frame or each other. If anyone has ideas on how to fix this, please share. At this point i’m pretty desperate and willing to try just about anything.
Slow down the print, a lot.
Does your printer have an enclosure?
Print it in a big cardboard box. Follow all safety procedures to ensure you’re not starting any fires, but it really works wonders.
It looks like the effects of heat warping if it’s all confined to the middle. First step is to allow the bed to heat up longer imo. The center might holding heat better or worse than the rest and needs longer to equalize. Is your printer enclosed? If so that should solve it. If it’s not then you may have excessive airflow across the bed.
Thanks for the reply. The bed already gets way more time than it needs to heat up so that part is fine. Printing it a lot slower will probably help equalize temperature tho. I’ll try that and we’ll see if it works.
You also could also attempt different patterns if you feel it’s the tip causing localized heating. On a flat print spiral is going to make the center hotter than the outside. Diagonal sweeps are going to do the opposite. If it’s on the side then sweeps w/ length for cold, against for hot.
Edit: since you’re using a .2 nozzle I would hazard a guess that you’re experiencing cold issues rather than excessive heat. Slowing down would make a big difference or switching to a more complicated pattern that spends more time in each area. Seems like you’ve got the right approach
On top of the other suggestions, turn off any cooling fans you can.
Thanks, i’ll try that.
Usually for delicate things like this I try to slow the speed way down (30-50 mm/s) and just let it go overnight. I don’t know if that’ll help fix this particular issue though.
Thanks for sharing. I had the speed set pretty high for all my attempts so this could be it. I’ll update the post when it finishes.
Larger nozzle.
Dead-ass. It will be heavier but single wall printing almost never goes well unless it’s a vasemode part or you’re using a minimum 0.8mm nozzle. Generally even single wall parts I try to do 2 nozzles wide at 0.6 else they will warp and buckle under their own weight.
Thanks, but unfortunately i only have a 0.2 nozzle. Solid walls beyond 0.5mm in thickness border on impractical for an airplane anyway. I had success printing walls as thin as 0.15mm, but that only works with at least a little bit of infill, if i have to make it heavier i would rather just do that.
Before you mentioned that it’s for an airplane this made me think of the extra structure Tom Stanton added into his single-walled wing foils. He’s using a foaming filament so that changes things I guess, but could this work for you? Apologies if you’ve already seen this https://www.youtube.com/watch?v=XPXN0QejqM0&t=555
impractical for an airplane
Depending on how much effort you’re willing to put in, I would suggest switching material.
Use fiber reinforced plastic.
The process can be done at home, though you may need some practice. You can print the shape you want with a thicker wall thickness and then use that as a negative. You get the best results if you have a compressor and can use vaccum techniques to get the excess plastic out of the material. This will put you in the thickness space you want, and it will still work, and you don’t have warping problems.
You could try to print it with draft shield. It’s a single walled enclosure around print area which will help to have an even heat distribution. It should be an option in your slicer.
I use orca and I’ve never seen that before. Would having skirt loops the height of the print be equivalent?
Basically, yes.
I would recommend redesigning the print if at all possible. Slicing a model of those dimensions is difficult in the best of circumstances.
Thanks for the recommendation. I can freely redesign it, but i don’t think slicing is causing any issues here. FreeCAD has no problem creating thin meshes and Orca Slicer correctly generates just a single smooth curve for every layer.
No expert in this specific type of print, but:
I’m sure you already have, but: make sure your calibrations are perfect, of course. Esp volumetric speed, but also I highly recommend adaptive pressure advance calibration. Prolly not gonna help here, but worth it anyway.
Given the height, is it possible to design 2 2d walls offset by .1 - .2mm? That way it’s sandwiched between 2 walls. Kind of like the gap a vertical support gives, but this is horizontal. The (sandwich) bread walls, if you will, need to be thicker so that as you add vertical height it acts as the support. That’s the only thing I can think of. Printing such a tall / thin object unsupported in any way feels super hard. Also maybe could just do vertical towers of support vs doing a ton more filament for a full sandwich.
Thanks for the suggestions. I could definitely add some perpendicular supports to stabilize the print, but don’t want to do that except as a last resort since i know for certain that my printer is capable of the precision needed here. I will probably do that if the other ideas don’t work.
If I had to guess I’d say cooling. What filament are you using, what print temp, and what fan speed? And more importantly where is the printer?
Creality makes a little tent for the Ender 3 and it helped with a lot of inconsistent prints I was getting. In winter time the printer was in a super cold room and bigger prints would warp. But just normal airflow in a room can cause enough of a temp difference to warp big prints like that. If you can shield the sides of your printer with something that might help.
Thanks for helping. It’s PLA at 210C, 60C bed temp, with an enclosure. The whole thing finishes in just 1.5h and is 25cm high so new layers might be getting placed before the ones below had time to cool down. I’ll try it slowed down and update the post when it’s done.
You mean with a closed enclosure? Maybe try printing with it open then, PLA generally want as much cooling as you can muster. I don’t have an enclosure myself, but I’ve heard that some people who do have to print with their doors open when using PLA.
Also does it print straight, and then later start bulging while its printing other layers on top? Or did it print the bulge that way?
update: I zoomed in closer on your other photo, and that choppy edge + horizontal lines are also indications that something is wrong. My first guess(es) would be either an extrusion issues (mis-calibrated extruder/slider, trying to print too fast, poorly machined nozzle…) something mechanical (frame isn’t properly assembled, loose roller wheel, hotend isn’t fully screwed to the carriage…).
Btw. I saw you wrote that you have a 0.2mm nozzle. Just to be sure, you did put that into your slicer, right? The default settings are probably 0.4mm nozzle. Also what line width and layer height are you using in the slicer settings?